Where It All Began!
Better late than sorry!
As an Electrical and Electronics Engineering student, I was a bit late to get introduced to the platforms I wanted to thrive in. The curriculum at Visvesvaraya Technological University (VTU) mainly focuses on Electrical subjects, and the Electronics part is often neglected or left out.
I wasn’t only into coding or just hardware. I wanted to see how things actually worked in real life. I wanted both hardware and software together, a concept called hardware-software co-design, which is something I’ll cover in future blogs.
 Man of the Show
I’ve had a fascination with computers, tech, and electronic components since childhood. I even used to tear apart remote-controlled cars just to see the DC motors inside.
Being in my pre-final year (because saying “3rd year” doesn’t give the same thrill), I finally got introduced to the world of microcontrollers, single-board computers (SBCs), and the maker community. Oh, the joy! You should have seen my face.
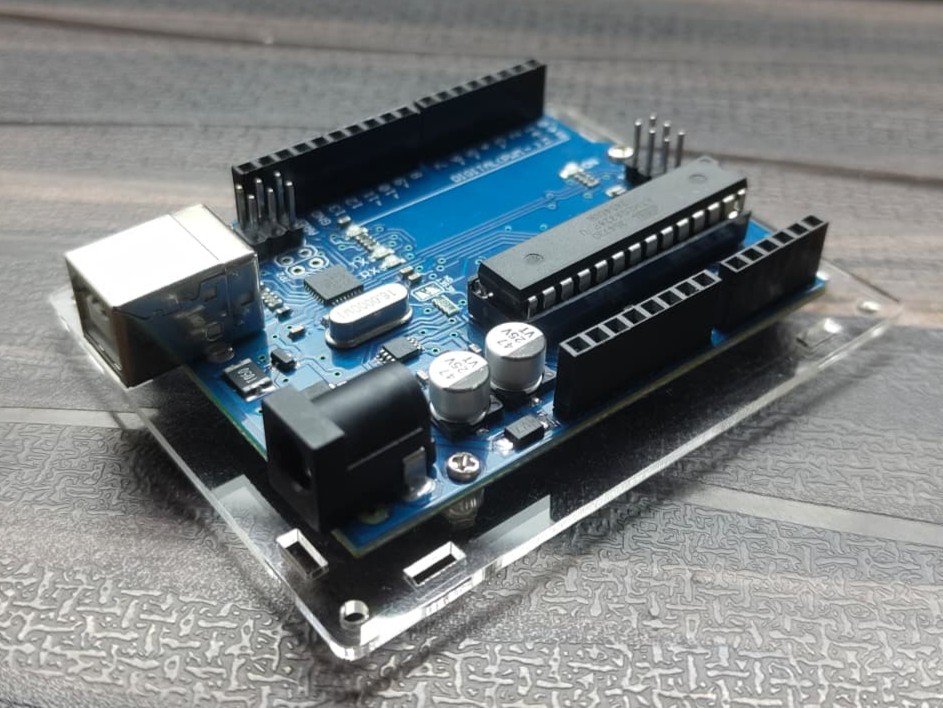
 Just a depiction
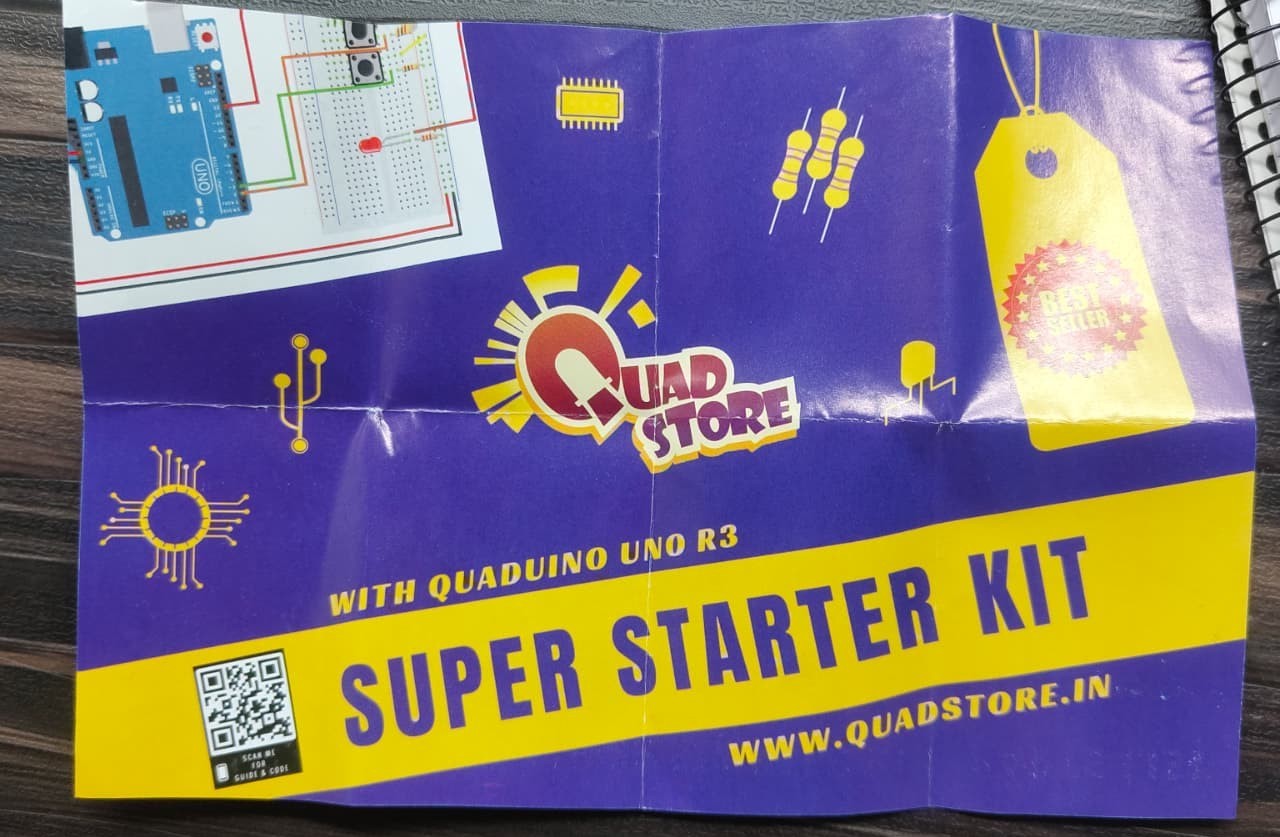
I searched online for Arduino kits and stumbled upon Quad Store’s “Super Starter Kit”, which came with project guides and sample code, a perfect start for a beginner like me.
And the journey began
The Kit
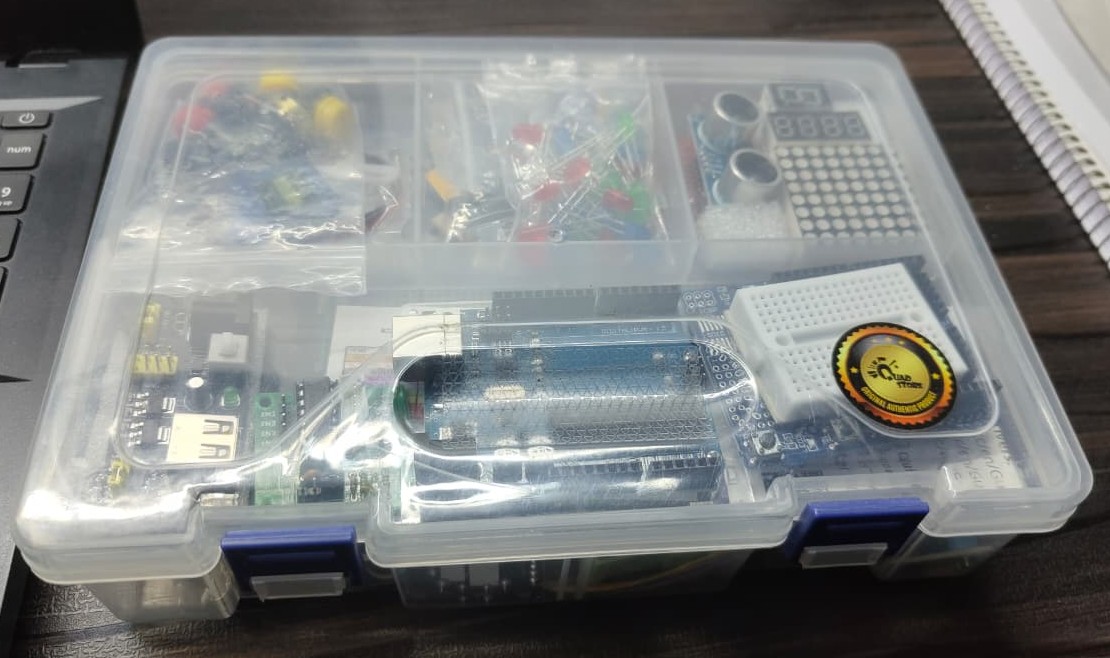
This included every possible componenets I didn’t know I needed, untill I started doing projects, really a great kit.
Components Included
 The components of the kit
The Kit included:
- Arduino Uno R3
- Breadboard (Full-size)
- Breadboard (Mini)
- Expansion Shield
- Push Buttons
- ULN2003 Driver
- Stepper Motor
- Breadboard power supply
- IR Remote
- Battery Holder
- Vibration switch
- flame sensor
- DHT11 sensor
- Photo-resistor
- IR Receiver
- Potentiometer
- 16*2 LCD (Without I2C module)
- Active Buzzer
- Passive Buzzer
- HC SR04
- IC 74HC595
- 1 Digit Display
- 4 Digit Display
- 8*8 Dot Matrix
- Resistors (220, 330, 10k and 1k ohms)
- Jumper wires
- RGB Module
- LEDs
- 40 pin Header
- Jumpers (F-F and M-M)
- SG90 Servo motor
Almost around 20 components, trust me, I didn’t know what they did, when I bought them, I’ve figured it out, you’ll figure it out somehow too.
Somehow, that kid who tore apart remote-control cars just to see the DC motors at work came back to life when he saw Stepper and Servo motors. Talk about a step-up!
Inserted a dad joke and you didn’t even notice
Media
If you want to check out the components, here is a Video
Don’t forget to subscribe to my channel
Well, that’s it for now! I’ll see you in the next blog. Till then, bye-bye!.